Printify Notes: Dark to Light PDF Guide
Convert dark-background lecture notes into clean, print-ready PDFs, step by step. The red circle in each screenshot marks where to click.
What this does: Inverts dark slides to white, lets you cover unwanted headers or margins, add highlights, and pack multiple slides per sheet to save paper. Everything runs in your browser, so nothing is uploaded.
Example used: A 63-page dark PDF became 21 sheets at 3 pages per sheet (67% paper saved).
1 Open the site and start
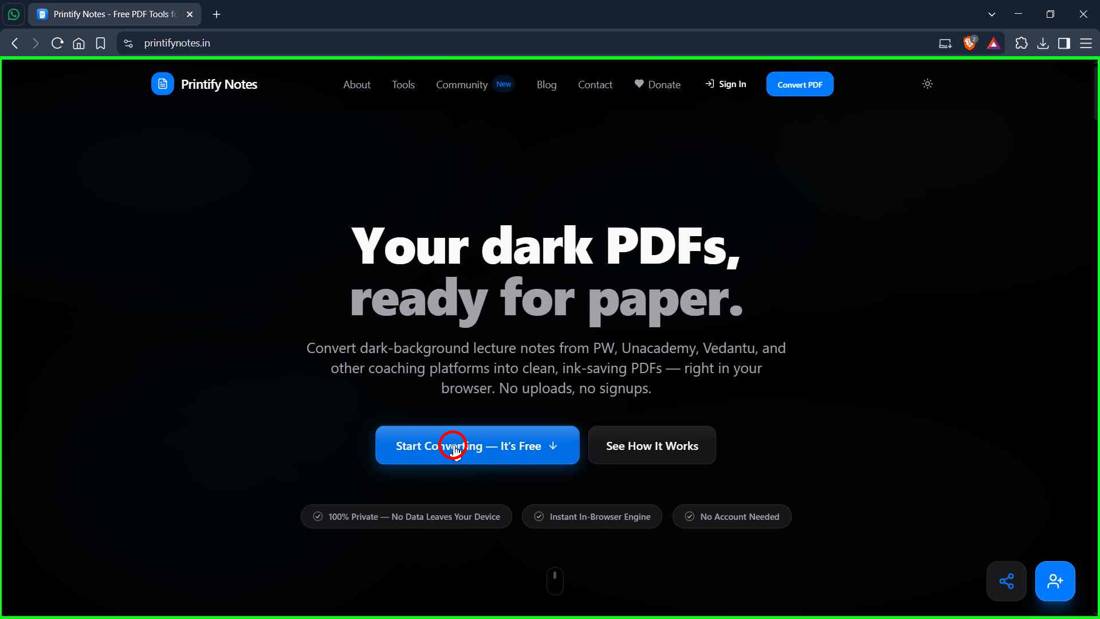
Go to printifynotes.in. On the home page, click the blue Start Converting — It's Free button. It scrolls you down to the upload section. (No signup or account is needed, and files are processed in your browser.)
2 Choose your file
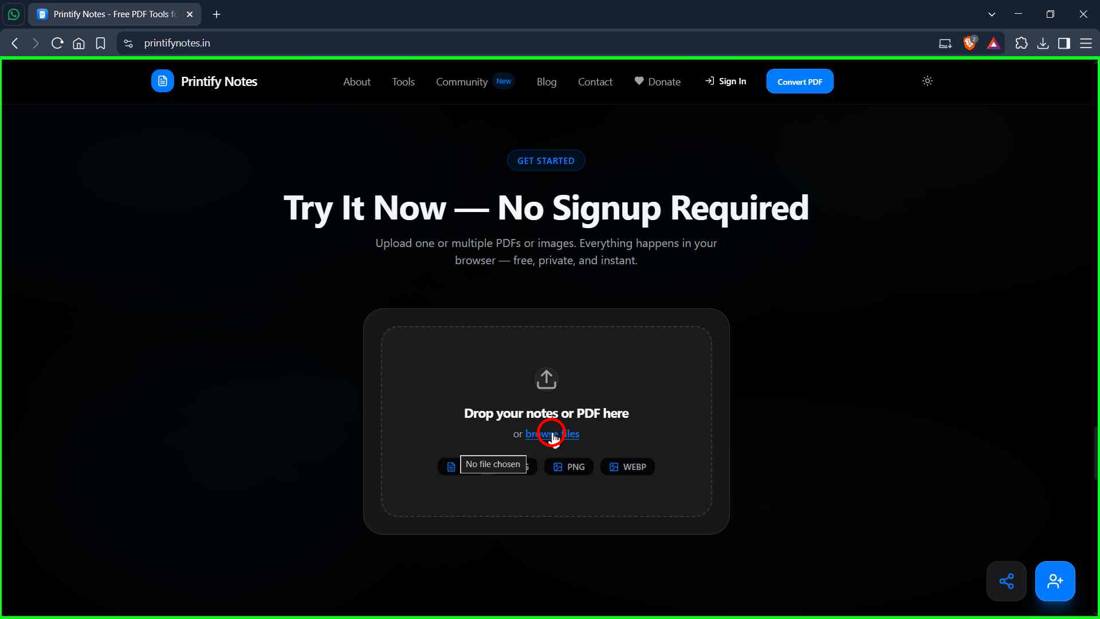
In the Try It Now box, click browse files. You can also drag and drop. Supported inputs: PDF, JPG, PNG and WEBP, one or several at once.
3 Select the PDF
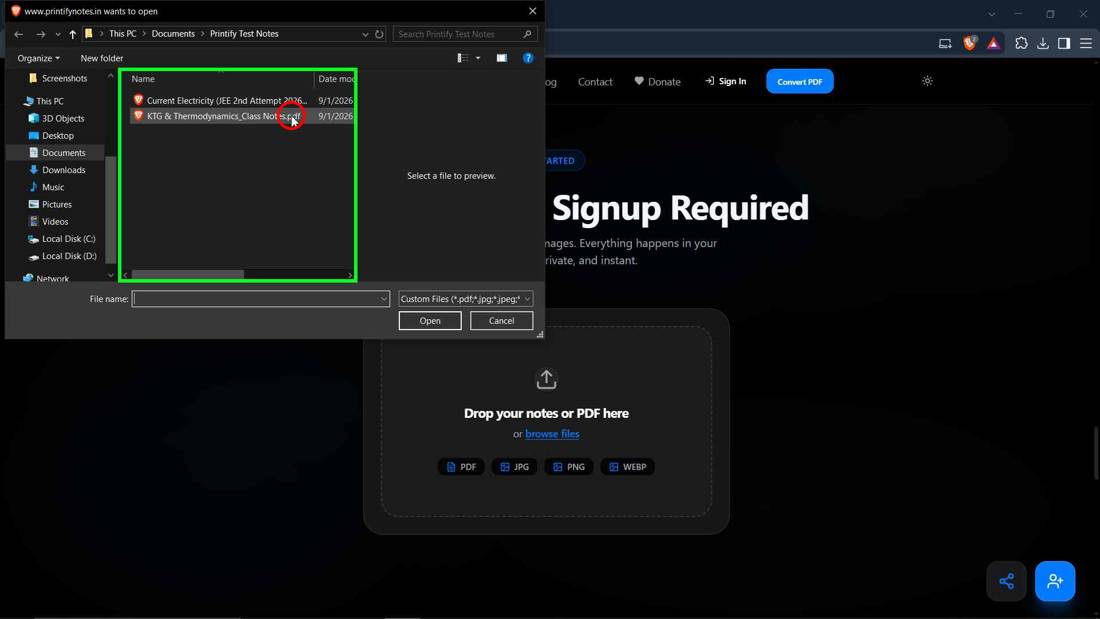
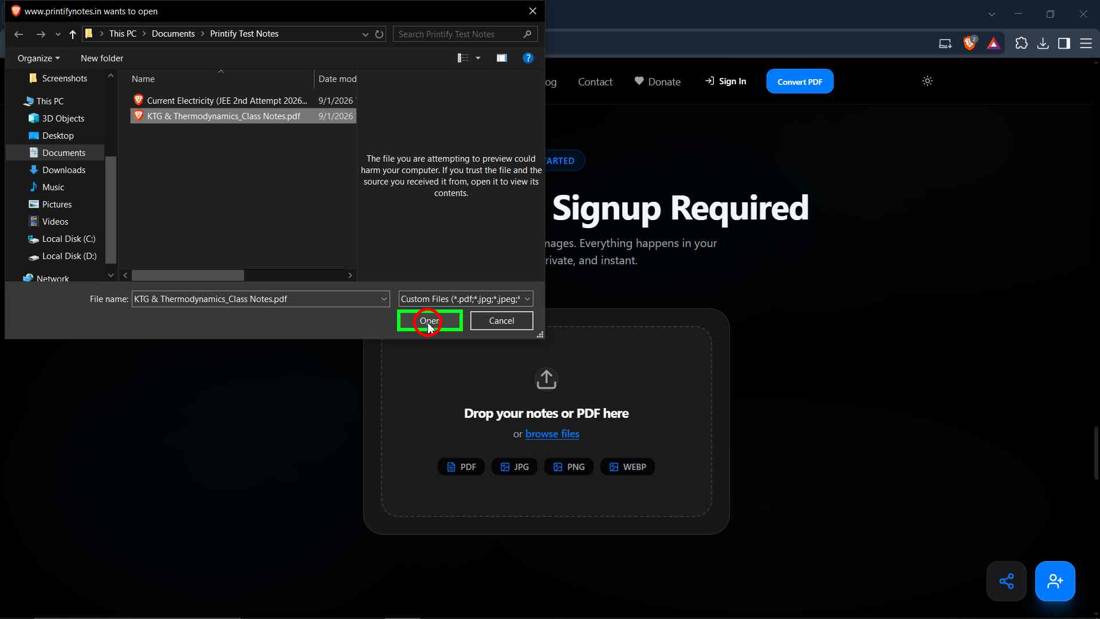
Your system file picker opens. Navigate to the folder with your notes and click the PDF you want to convert.
4 Click Open
With the file name filled in at the bottom, click Open.
5 Wait while it prepares
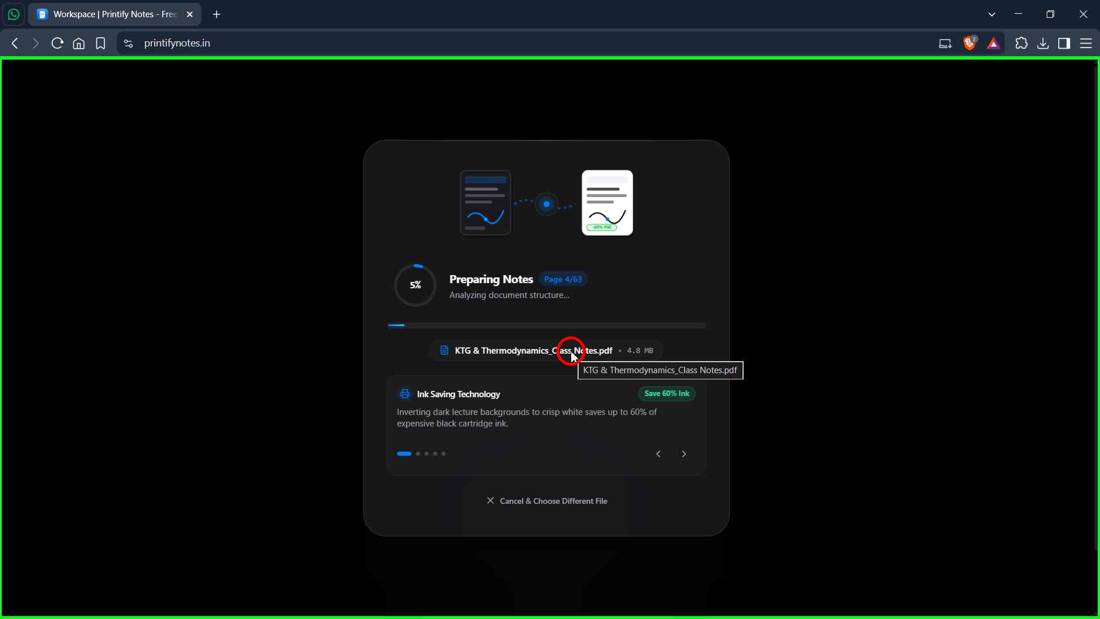
A Preparing Notes screen shows progress page by page. A 63-page, 4.8 MB file took only a short while. You can cancel and choose a different file if needed.
6 Enhance tab: the main settings
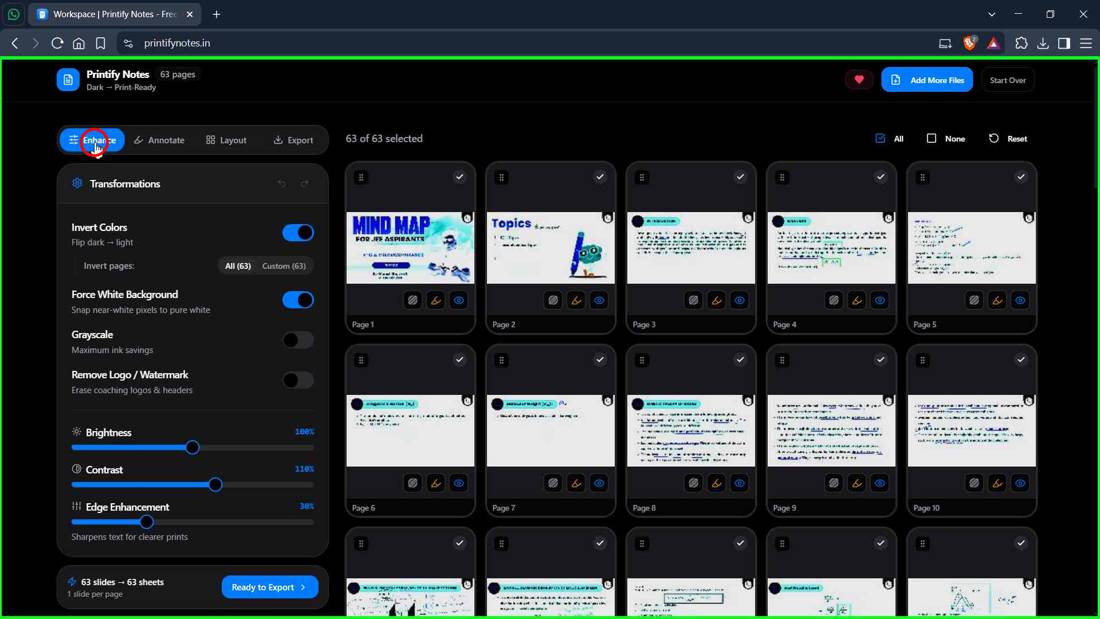
Your pages load as thumbnails in the Workspace. In Enhance you'll find:
7 Preview a single page
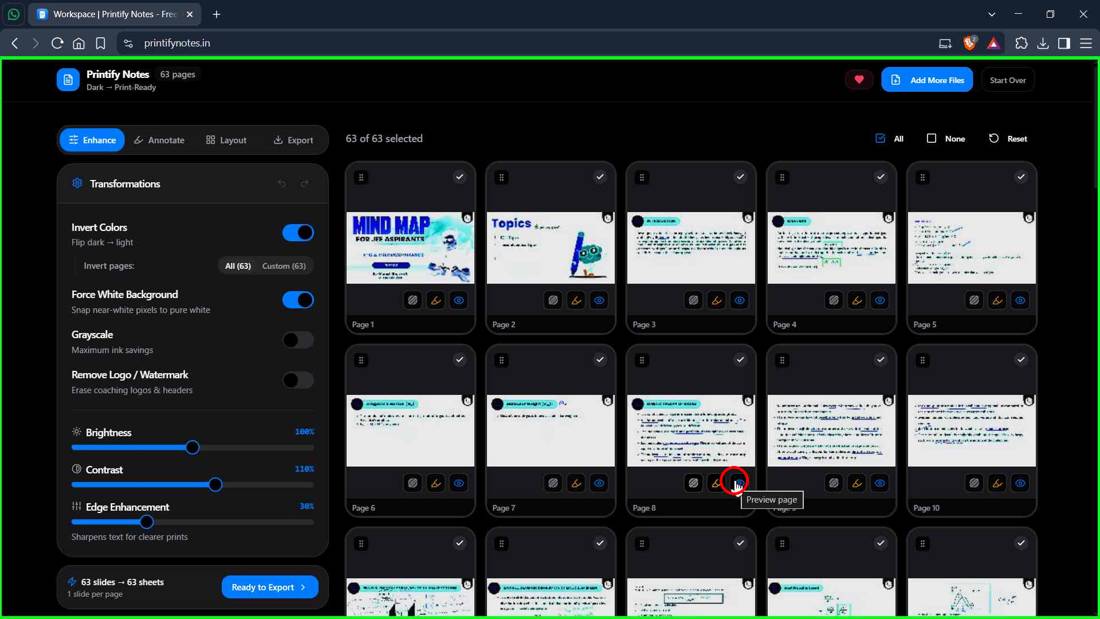
Hover over a page thumbnail and click the eye icon (Preview page) to open a full-size preview.
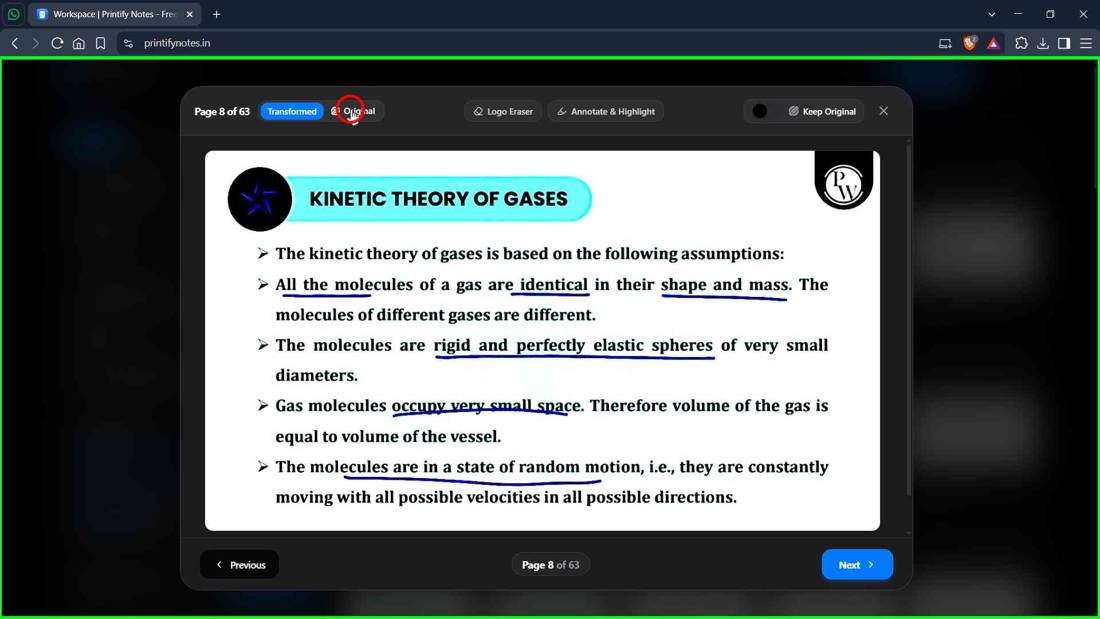
8 Compare with the original
Inside the preview, click Original to see the untouched dark page (in this example a red background), so you can judge the conversion.
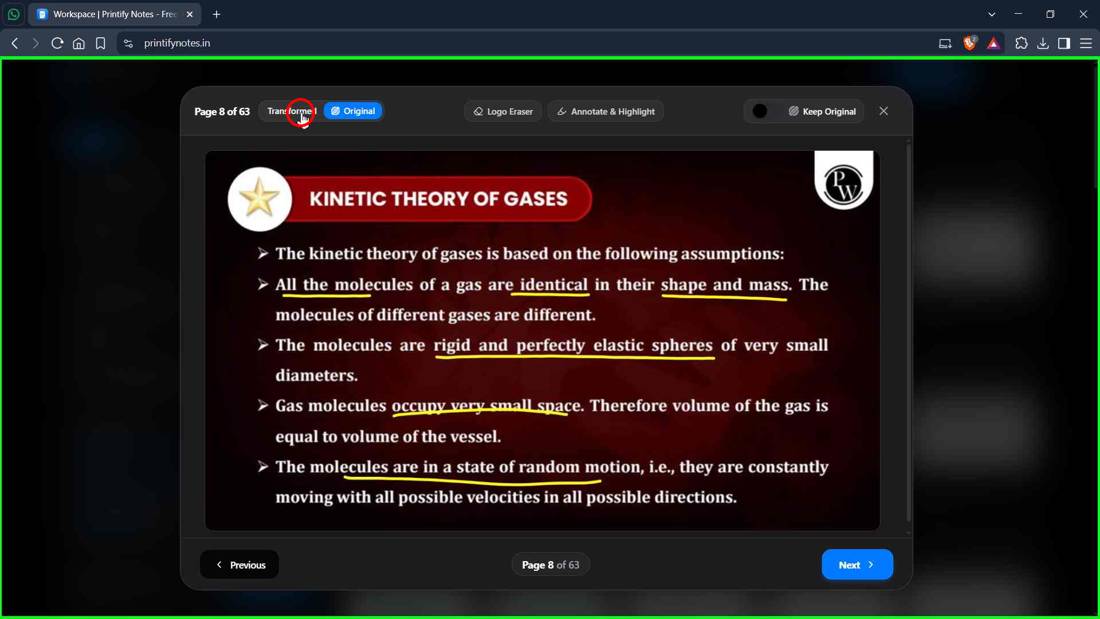
9 Back to the converted version
Click Transformed to return to the print-ready white version. Use Previous / Next at the bottom to flip through pages.
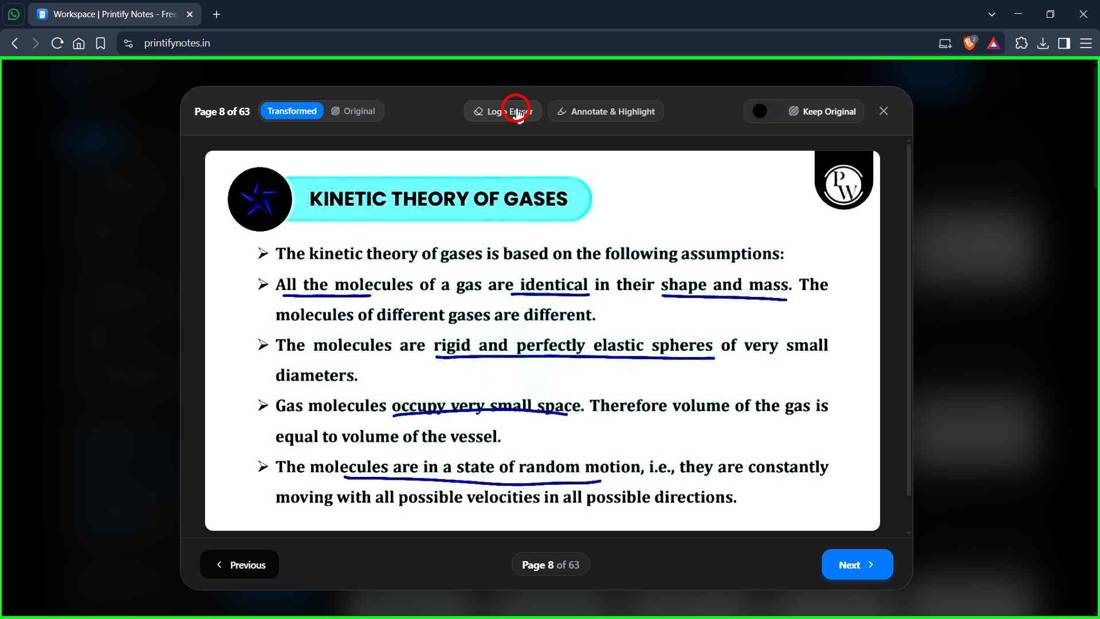
10 Cover Area Tool
Click Cover Area to mask unwanted headers, footers, or margin notes. A bar appears with quick-pick corners (Top Header, Top-Left, Top-Right, Bottom Footer, Bottom-Right), or you can drag a box over the area manually. Click Done when finished.
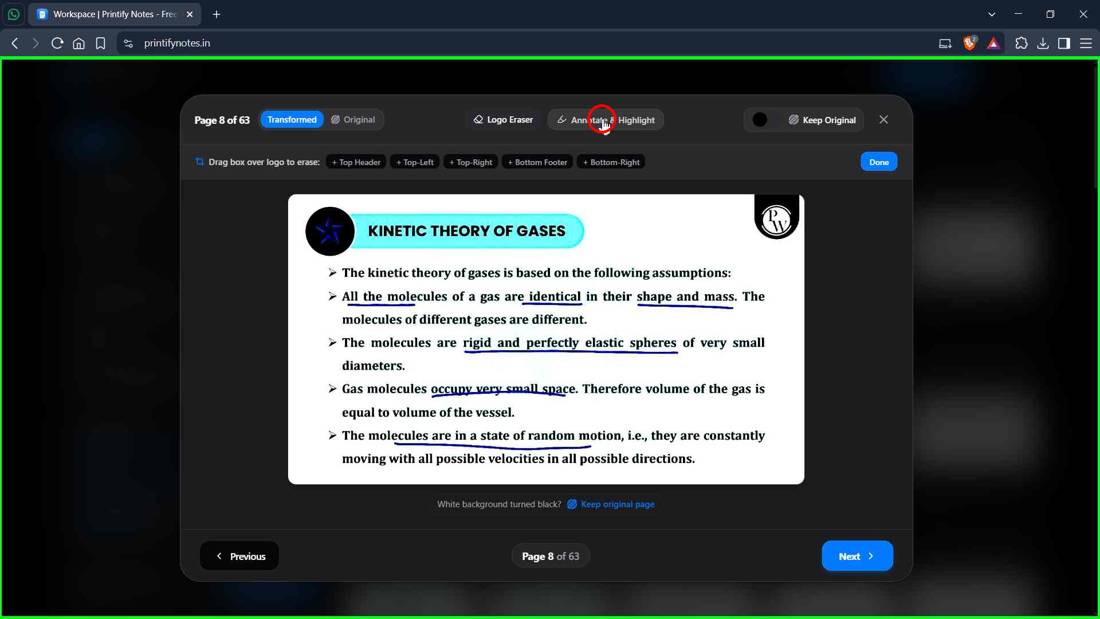
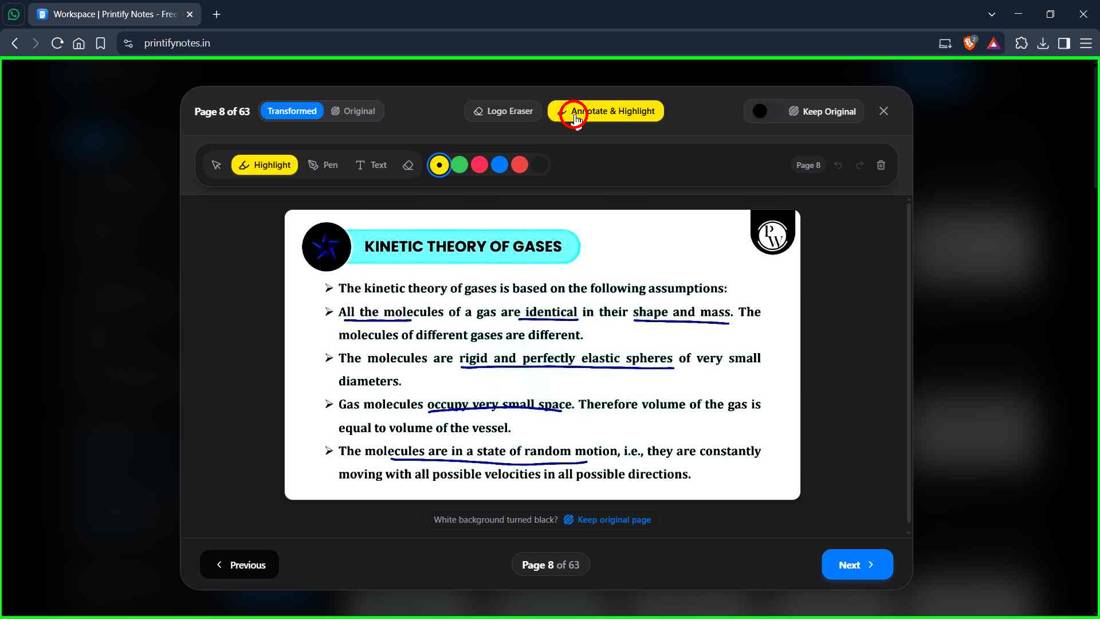
11 Annotate & Highlight
Click Annotate & Highlight to open the tools bar.
12 Annotation tools
The toolbar gives you Highlight, Pen, Text and an eraser, plus a colour picker, undo/redo and clear. Mark important lines directly on the page, then click the button again to close.
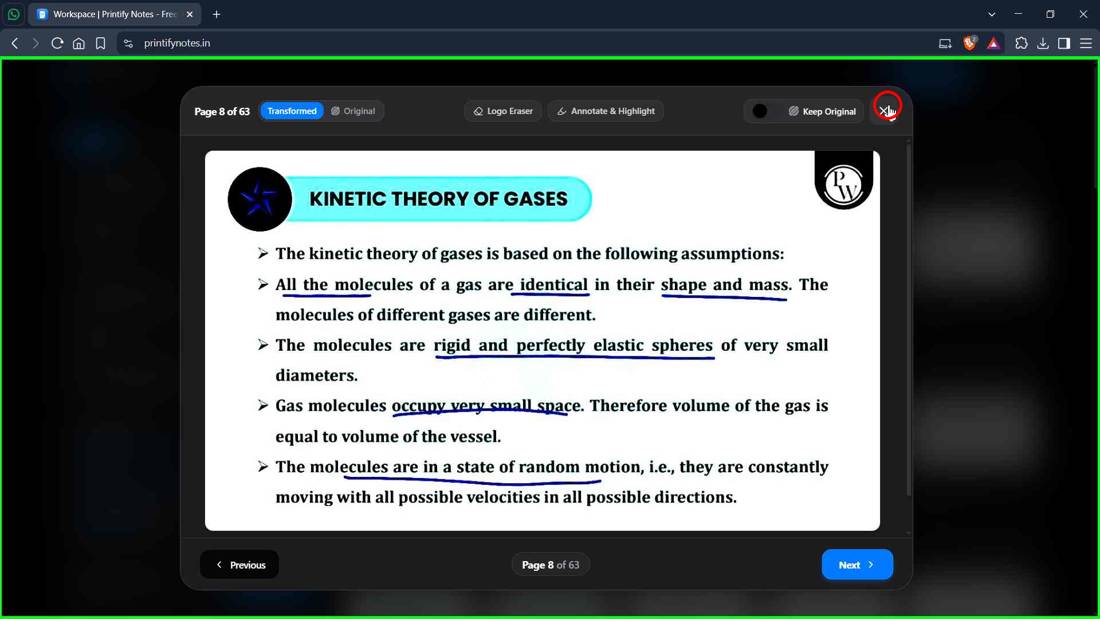
13 Close the preview
Click the X at the top right of the preview to return to the workspace.
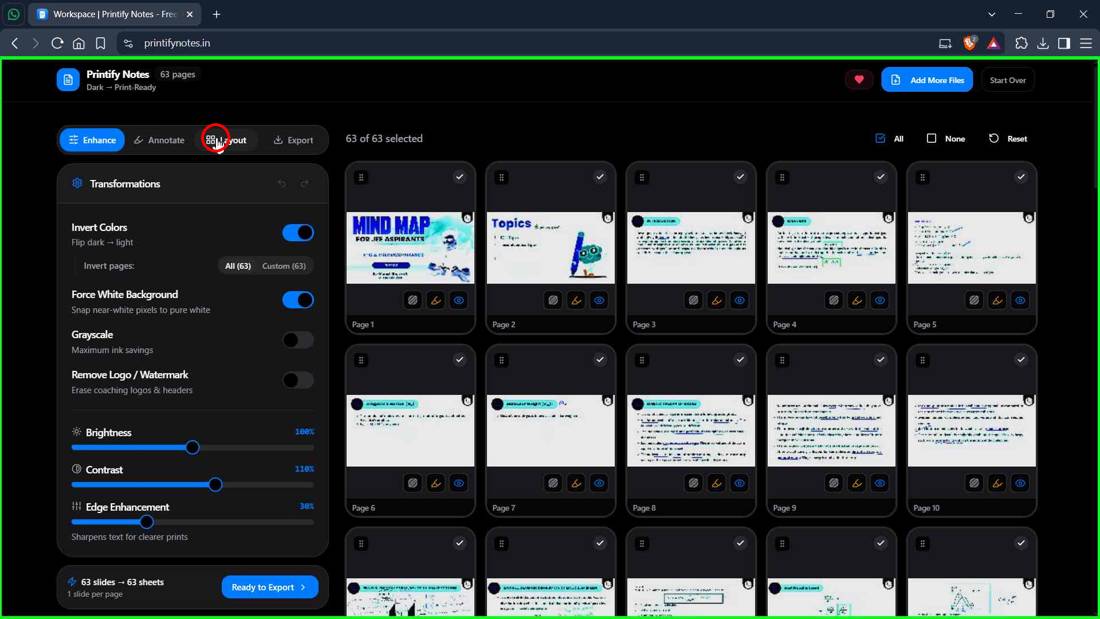
14 Open the Layout tab
Click Layout to control how pages are arranged on printed sheets.
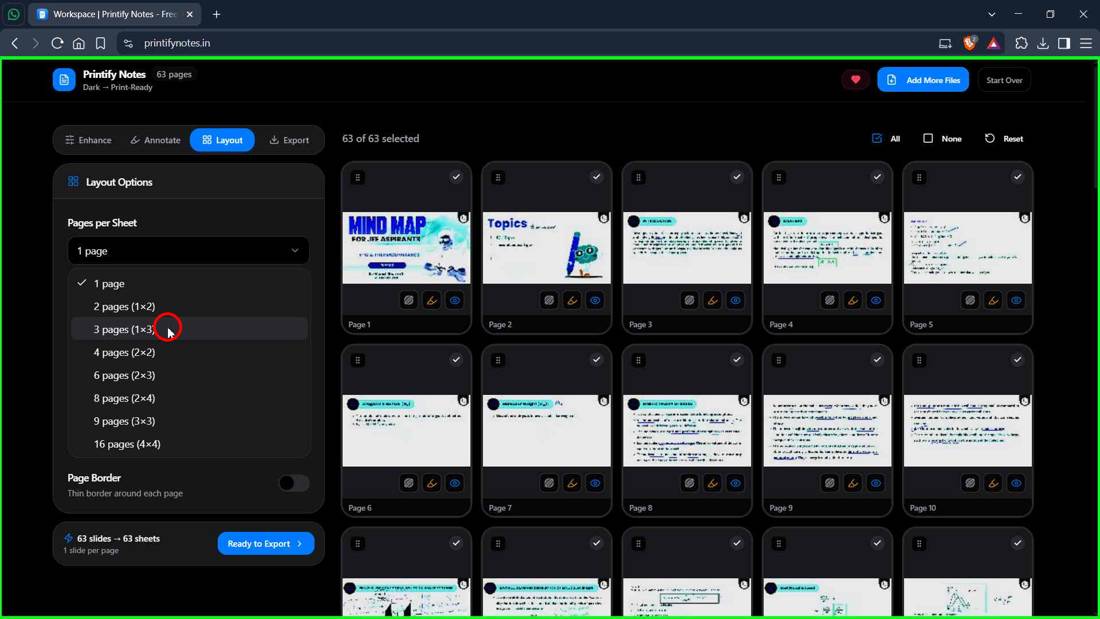
15 Pages per Sheet
Open the Pages per Sheet dropdown. Other options here: Orientation, Margins, Spacing and Page Border.
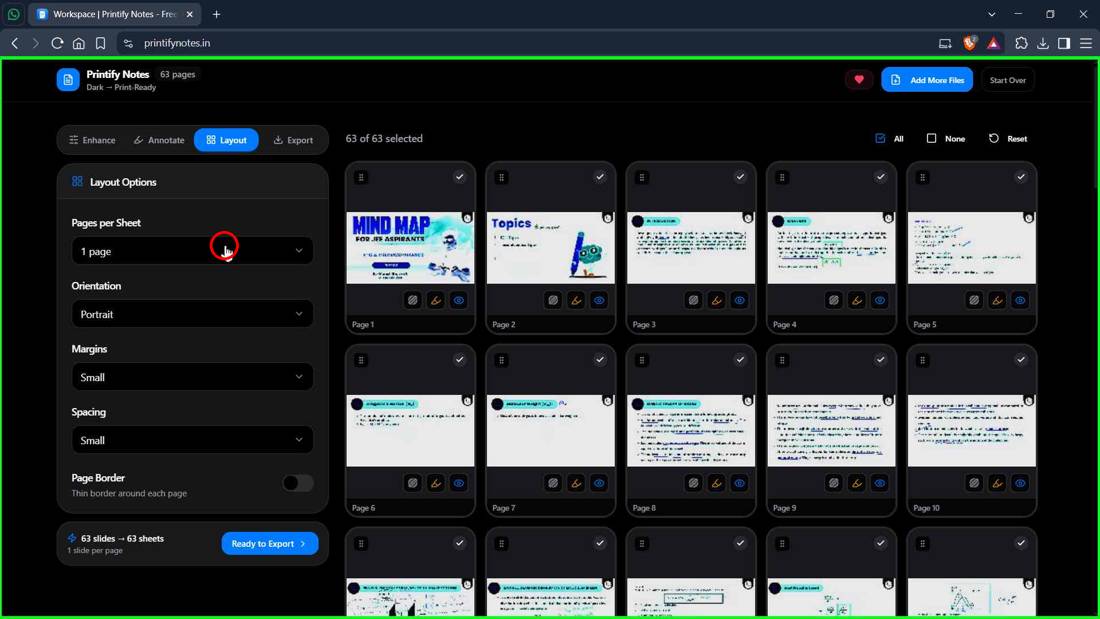
16 Pick a layout
Options range from 1 up to 16 pages per sheet (2, 3, 4, 6, 8, 9, 16). This run used 3 pages (1×3), which works nicely for lecture slides with space beside them.
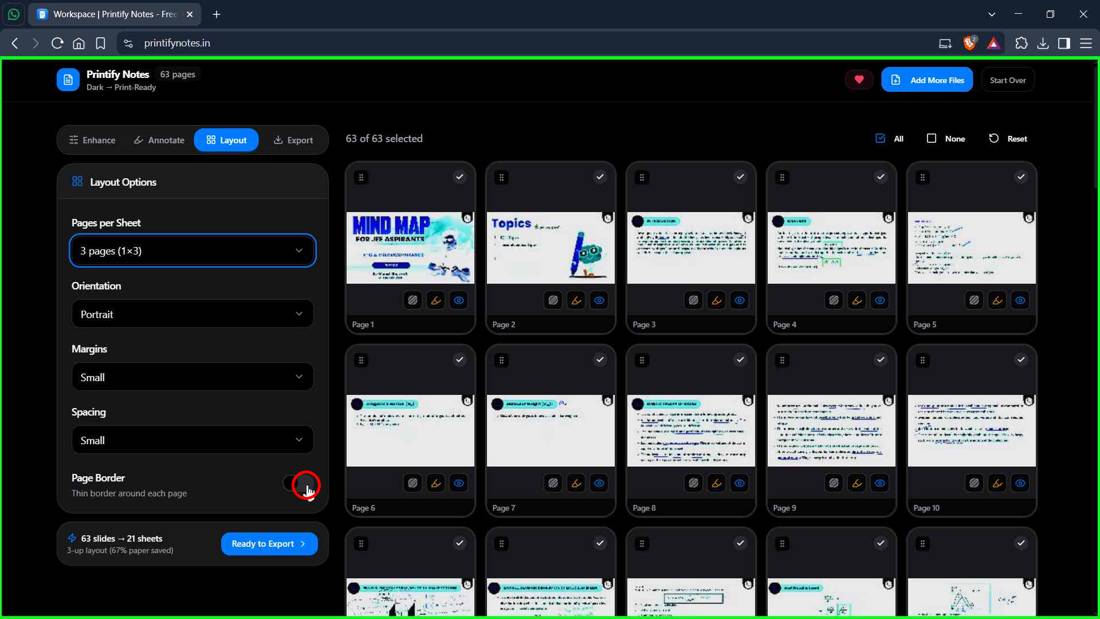
17 Optional: page border
Toggle Page Border to draw a thin border around each page. The bottom-left summary updates live: here 63 slides → 21 sheets (67% paper saved).
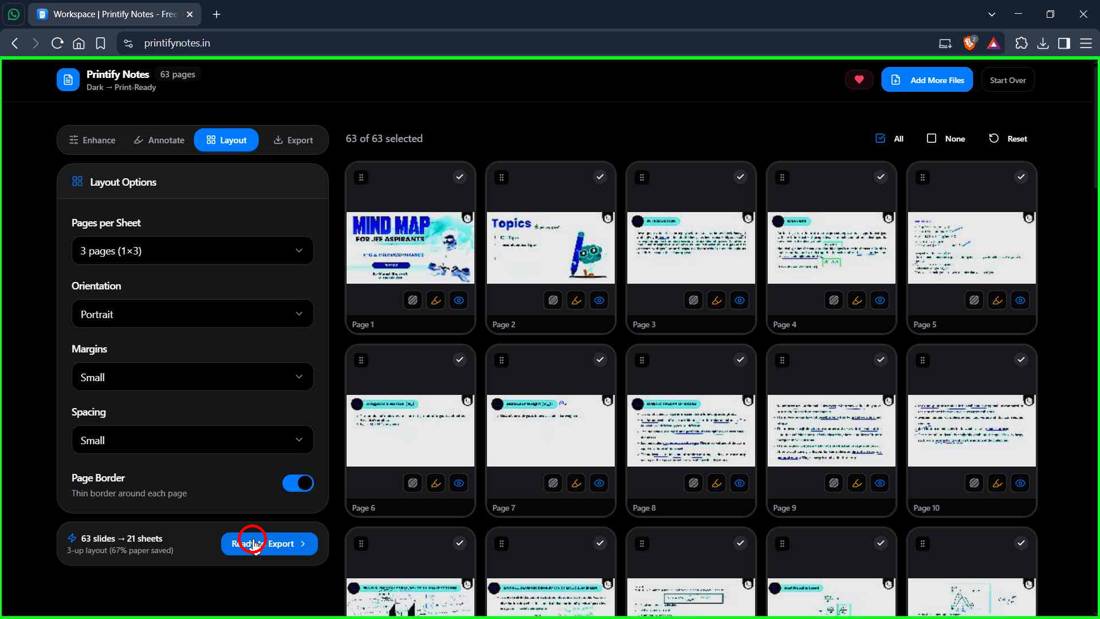
18 Ready to Export
Click the blue Ready to Export button.
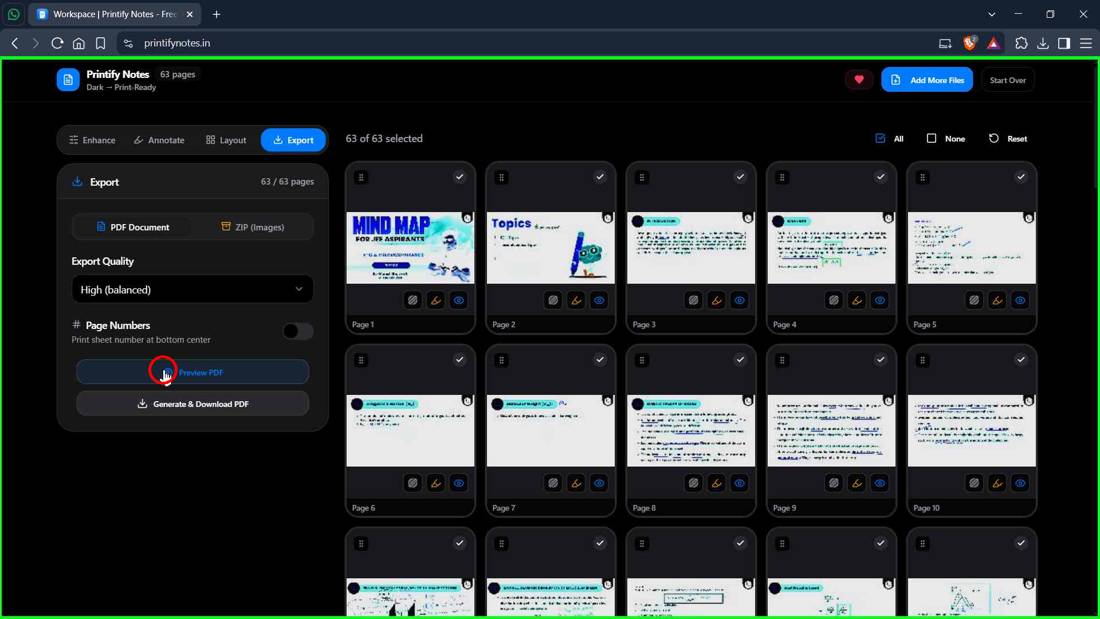
19 Export settings and preview
Choose PDF Document or ZIP (images), set Export Quality (High (balanced) here), and optionally enable Page Numbers. Click Preview PDF before generating the final file. Generate & Download PDF is also available directly.
20 Check the preview and download
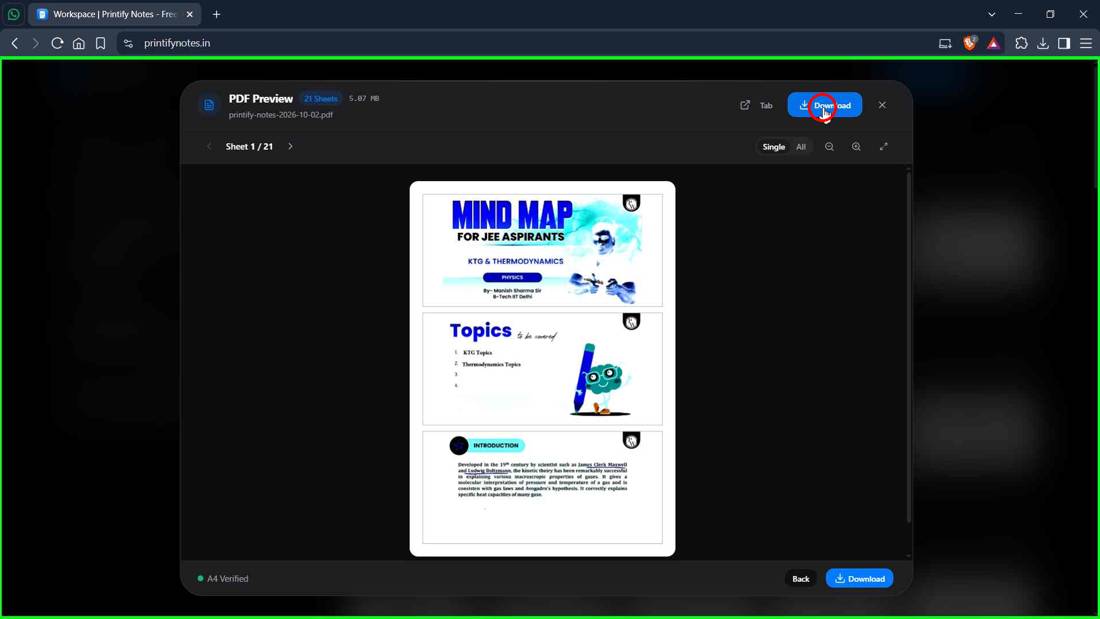
The PDF Preview shows all 21 sheets (about 5.07 MB). Flip through, then click Download at the top (or the bottom right).
21 Find the download
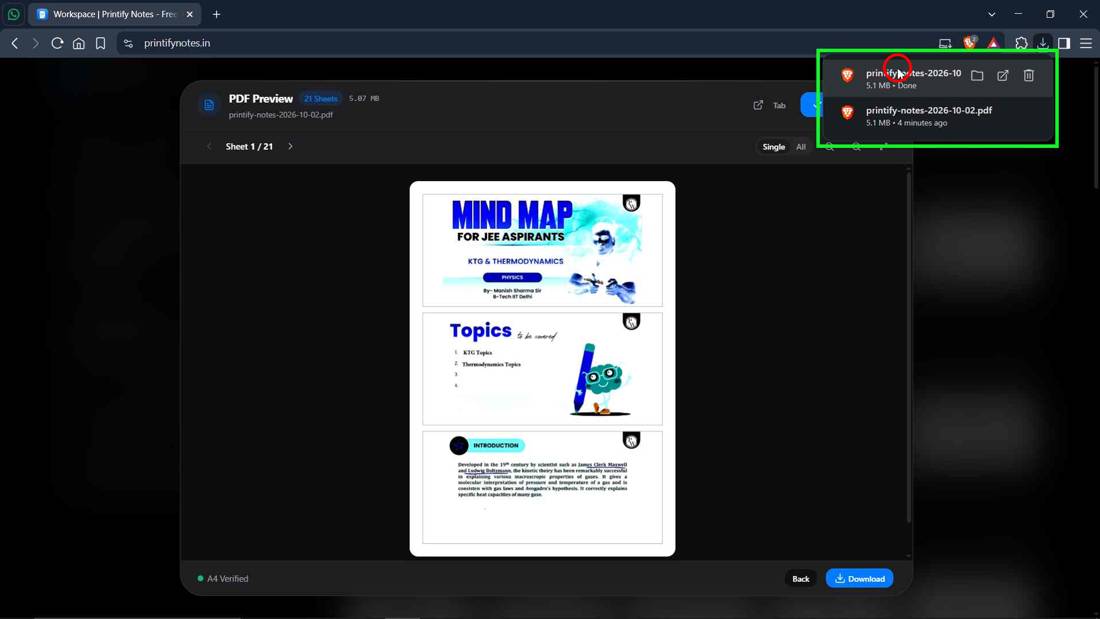
The browser's download panel shows the saved file (printify-notes-DATE.pdf). Click it to open.
22 Verify in the PDF viewer
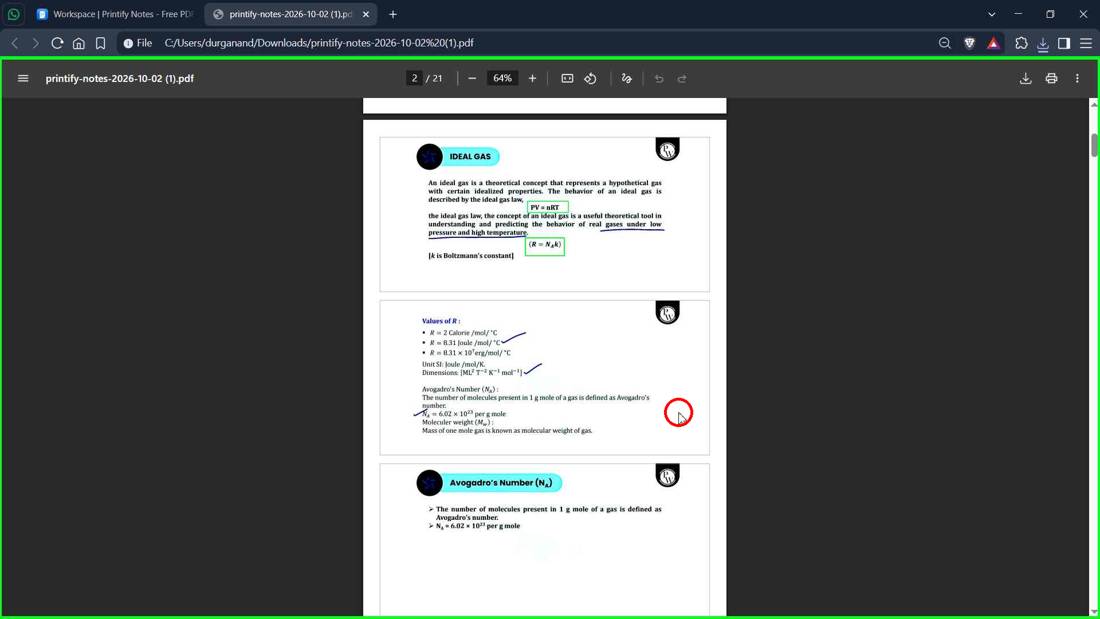
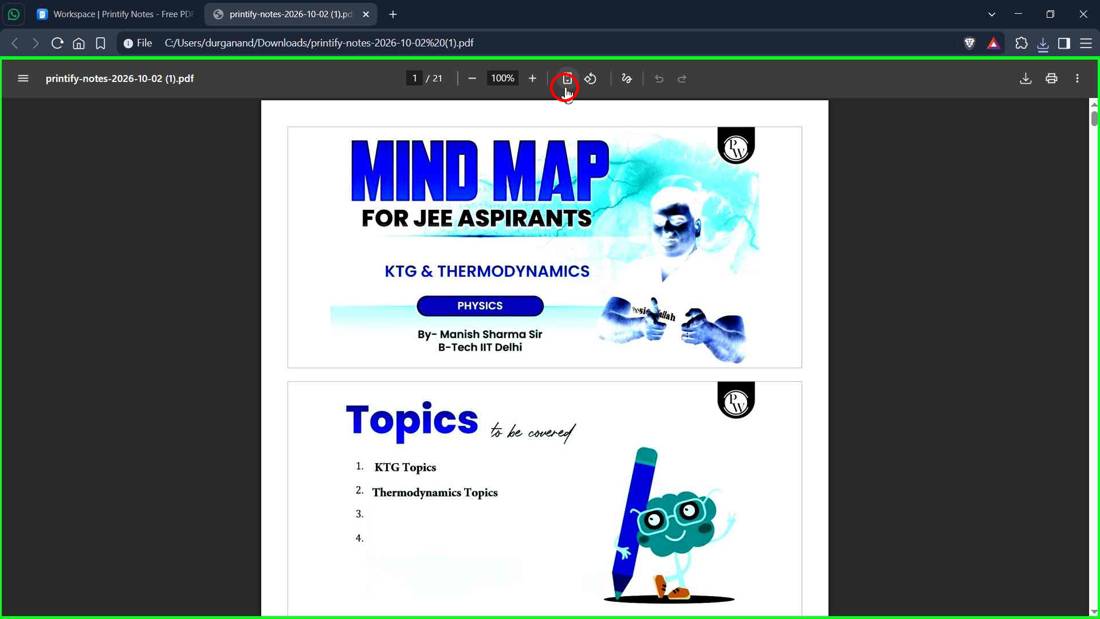
The file opens in the browser's PDF viewer: white pages, three slides per sheet, annotations kept. Use the viewer's fit-to-page option to review it.
23 Scroll through and print
Scroll through the sheets to check everything, then print from the viewer (printer icon, top right).